Important Requirements
You will need a JTAG cable like the Olimex ARM-USB-TINY
and a IIB2400
debug board in order to be able to flash the imote2. This is
necessary, as flashing via USB is not yet supported in UNIX (this also
applies to Windows and OS X users, since they are going to use a Linux
image) .
Installing TinyOS 2.1.0
There are two methods available to install TinyOS in your machine,
depending on the Operating system you are using. If you have an UNIX
system, you can compile and install the needed
software and drivers, or you can use a VMWare image
packed with all the software required. If you are using Microsoft
Windows or Mac OS X, you will need the VMWare image.
Instead of installing the software and drivers, you can use an
(X)Ubuntu Virtual Machine Image in VMware Player, which contains
tinyos-2.x-contrib with all the tools and drivers required to use the
imote2 sensor board
- Ubuntu 9.10 VM Image (tinyos-2.x-contrib included): Download
here
- XubuntuOs 2.1 VM (You must install Openocd which is not included
in this VM): Download
here
Follow the instructions in this page where you
can find the scripts to install Tinyos 2.1, openocd and
the drivers for Olimex ARM-USB-TINY. Important: if you prefer
to install the deb packages (instead of compiling it) for the Cross
Compile GCC for XScale, you can download the script here.
Cross Compile GCC for XScale on Ubuntu
This script installs gcc for cross compilation for the Xscale
processors, used by the IntelMote2. You must have root privileges
to execute this script.
Download here
Installing Openocd (if you choosed the XubuntuOs 2.1 VM)
Follow the intructions on this page.
Compiling, Installing and Using the newCameraMultiHop and
CameraJpegTestSerialMod applications
(May 2011)
How to use newCameraMultiHop and CameraJpegTestSerialMod applications.
- Install the CameraJpegTestSerialMod, follow this link
for instructions
- Download the archive of the newCameraMultiHop here.
- Extract the archive in the imote2/apps
directory from the tinyos-2.x-contrib
directory. This is to avoid compilation errors about missing headers
files (or you could just modify the included Makefile for your own
purposes).
- With a terminal console, enters the extracted directory
(should be newCameraMultiHop),
then begin with the base node (the one that will be connected to the
computer and will acts as the radio gateway)
- $ cd
baseNode
- attach the imote2 that will serve as the radio gateway to
the debugging board
- connect the JTAG cable to the debugging board
- connect the mini-USB cable to the debugging board
- $ make
intelmote2 install openocd
- you should see:
Programming
imote2 with binary: build/intelmote2/main.bin.out
Starting
OpenOCD...
Connecting
to OpenOCD...
Halting
device...
Erasing
flash...
Writing
image...
Resuming
device...
Doing
cleanup...
if openocd
hangs at "Starting
OpenOCD..." unplug the mini-USB and plug back and
run again
$ make intelmote2 install openocd
- $ cd ..
- Then continue with the imote2 that have the camera
- $ cd
camNode
- attach the imote2 and camera board to the debugging board
- connect the JTAG cable to the debugging board
- connect the mini-USB cable to the debugging board
- $ make
intelmote2 install openocd
- you should see:
Programming
imote2 with binary: build/intelmote2/main.bin.out
Starting
OpenOCD...
Connecting
to OpenOCD...
Halting
device...
Erasing
flash...
Writing
image...
Resuming
device...
Doing
cleanup...
if openocd
hangs at "Starting
OpenOCD..." unplug the mini-USB and plug back and
run again
$ make intelmote2 install openocd
- Then use the java application that has been installed with the CameraJpegTestSerialMod
package
- $ cd
/opt/tinyos-2.x-contrib/intelmote2/apps/cameraJpegTestSerialMod/java
- Start the GUI with: "./run X", where X is the identifier of the
USB port wich the camera is connected, i.e., if you use /dev/ttyUSB1,
type "./run 1". This will automatically start the Java Serial forwarder.
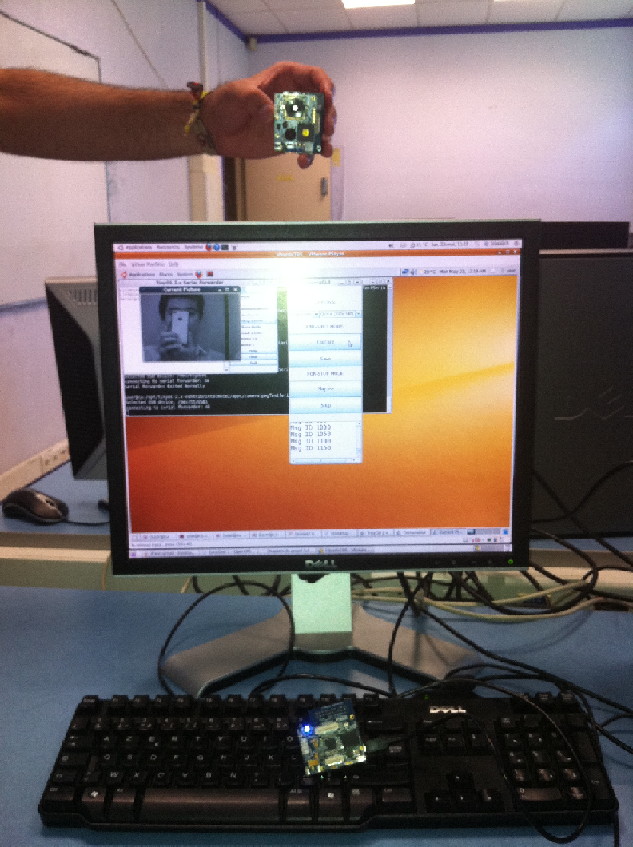
- The "ONE SHOT MODE" lets you capture one picture for viewing or
for saving. Juste press the "CAPTURE" button to get a picture from the
camera. A window will apear where you can see the picture appearing
progressively on it. When the picture is completely received, you can
save it to a directory of your choice by pressing the "SAVE" button.
- The "NON-STOP MODE" will display continuously the pictures
captured by the device. A new shot is automaticaly taken when the
previous is entirely received. Two windows will apear, one showing you
the current picture that is being received, the other showing you the
last taken picture. Just press on the "PLAY >>" button to start
the capture. You can stop the capture at any time by pressing the
"STOP" button.
NOTE: the program should succesfully display color pictures
(it has been coded -and tested- with color support in mind), but you
cannot get color pictures from the camera at the time of writing these
instructions, so selecting the "RGB" option will only gives you a
grayscale picture -but not the same picture has if you would have
chosen the "Grayscale" mode.
NOTE: JPEG option has been totally removed from the GUI
interface, since the JPEG compression DOES NOT WORK.